
User Guide for TT4000 Digitally Controlled Soldering Station
Author: Aus Electronics Direct Date Posted:22 September 2016
TT4000 Digitally Controlled Soldering Station
Setup and General Use of TT4000 Soldering Station

About the product
The TT4000 Digitally Controlled Soldering Station is a cost effective, complete setup for any hobbyist or professional who needs access to soldering equipment.
It features digital temperature control, fast heating times, soldering iron holder and slide- out drawer with sponge to clean the tip of the iron between uses.
Features:
- Temperature Range: 150 – 450 Degrees C.
- Display precision +/- 5%.
- 24VAC 48W Iron.
- 3 ½ digit display for set temperature and current temperature.
Setup
After receiving your Soldering Station there are a few steps to follow in order to make sure it is correctly set up and will last you a long time of good use.
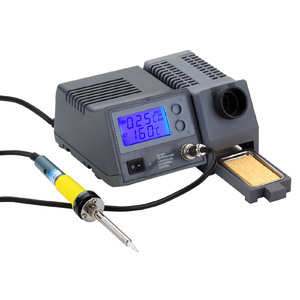
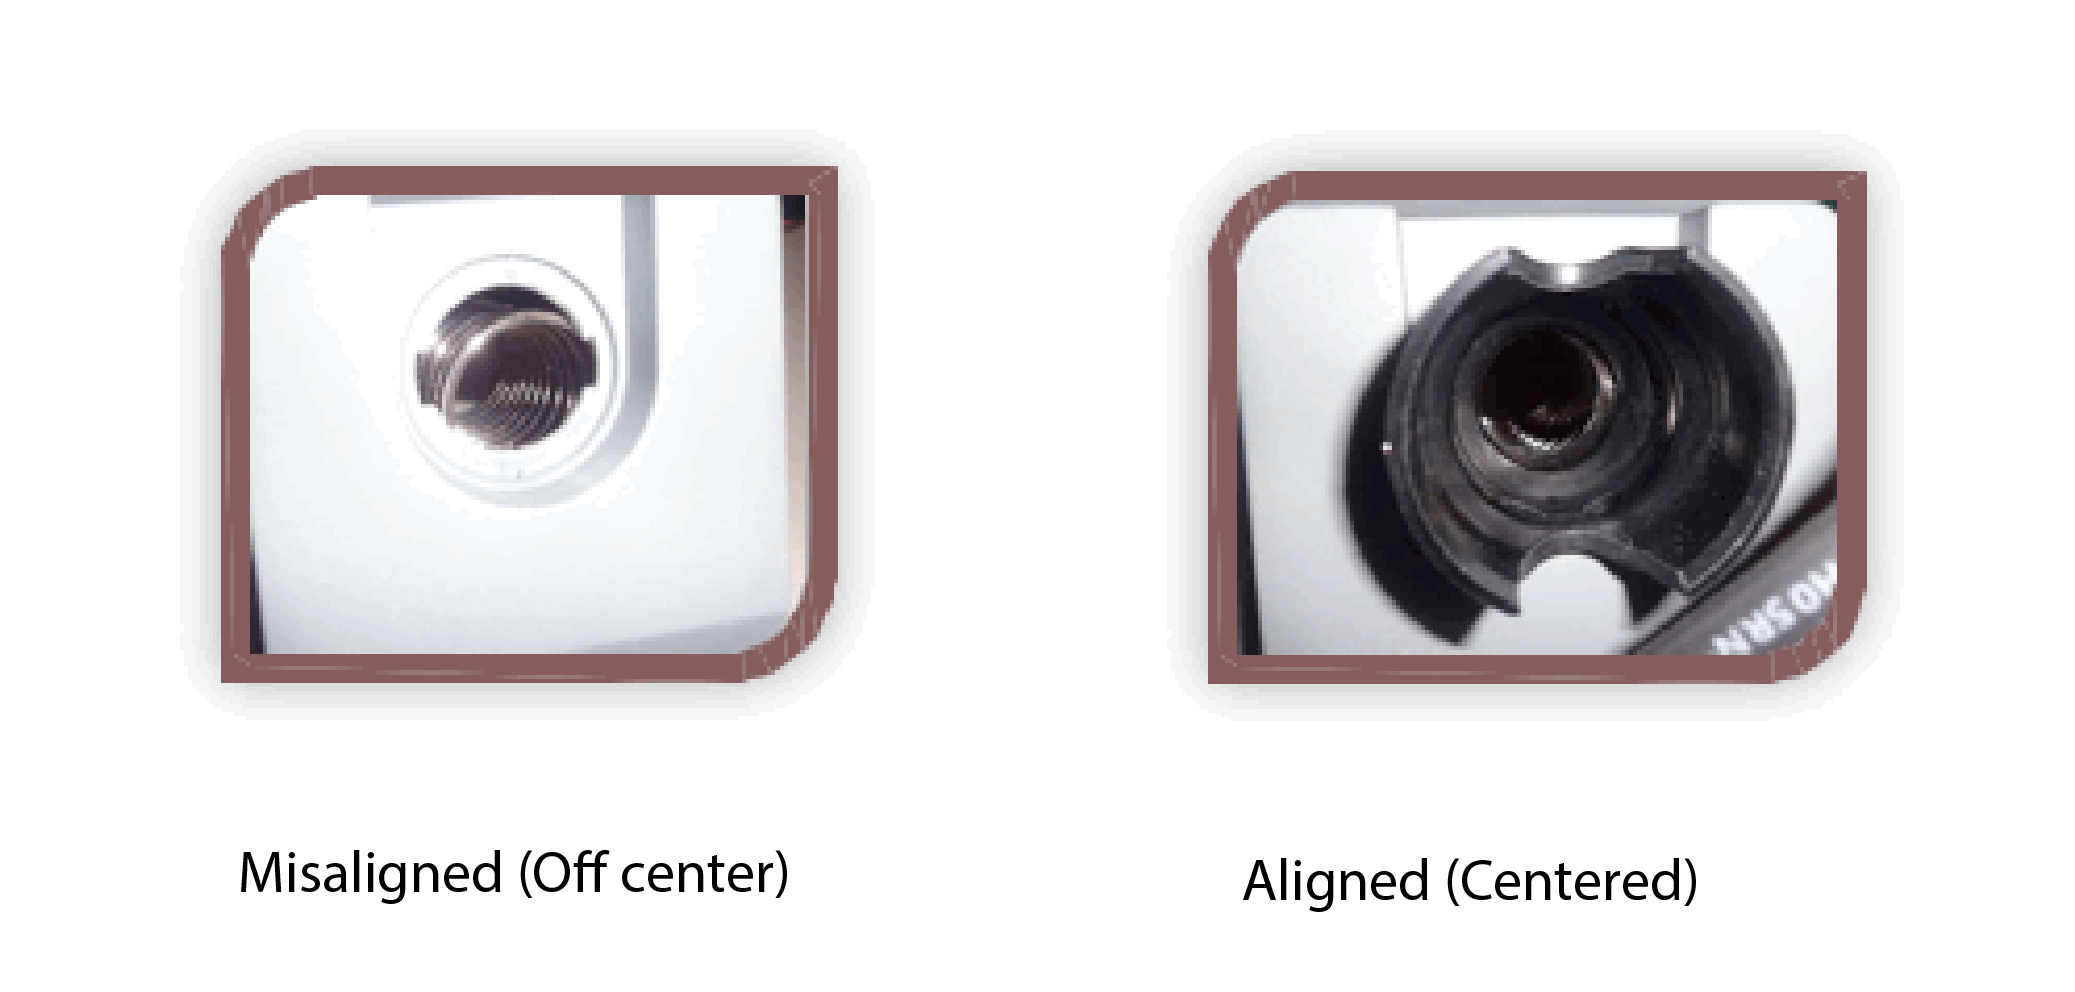
Align the iron holder:
Firstly, you should check the soldering iron holder. Specifically, the steel basket inside, if it is not in line with the outer ring you will need to align it.
Firmly grip the black outer ring, and turn counter clockwise about 90 degrees. You will feel the tabs give way and the black ring will come out.
You can now extend the drawer, and use your fingers to hold the steel component in line with the hole. Reinsert the plastic ring, being sure to align the tabs carefully and turn clockwise 90 degrees.
The ring will now hold the steel component in place, forming a straight cavity into which you can place the iron during use.
Prepare the sponge:
If possible always use demineralized water. The sponge should be lightly damp, not wet or dripping. The aim of the sponge is to clean excess or stale solder from the hot tip. We do not want to draw too much heat out of the tip during this process, nor burn the sponge.
If you use tap water you will likely notice a buildup of calcium or other minerals on the tip, which can impede heat transfer through the tip. This is unwanted and can result in “cold spots” on the tip.
The tip of your iron should always be coated with solder, this prevents oxides building up, which
act as insulators also. Always wipe the stale solder from the tip and apply flux and fresh solder to the tip after use.
Insert the iron attachment:
Now we are ready to plug the iron in to the controller. There is a notch at the top of the ring on the iron connector, and a protrusion at the 12 o’clock position in the receptacle. Ensure the notch is at the 12 o’clock position and gently insert the connector into the receptacle. It should insert without pressure.
Screw the ring in firmly, it doesn’t need to be hugely tight, just firm.
Tin the tip:
The iron comes with a tin coating on the tip, which protects it from oxidation, however you will want to prepare the tip for use by correctly tinning the tip.
When you apply solder to a material that is able to be tinned, you are creating a tertiary layer. This is called an intermetallic layer, and this is the layer that matters. It is an alloy of the material you are soldering, along with a small amount of tin and lead from the solder you are using. The same applied to lead-free solder, with the obvious difference in metallurgy.
This is important as the tip will likely be a high heat conducting material, with a thin coating of another metal that helps solder stick. If you heat the tip excessively, or for long periods without solder on it – this layer will actually peel off, and the tip will be ruined.
Following the instructions below, set the temperature to 285 degrees, and wait for the iron to reach temp. Once it is at temp turn the power off to the station, and apply flux cored solder to the tip, gently turn the iron and slowly apply solder to the tip until it is evenly coated.
Clean the tip gently on the sponge, and reapply solder. Then place the iron in the holder and allow to cool for 5 minutes. At this point you have set your iron up completely and it is ready to use.
If you remember to clean the tip, and reapply fresh solder after every use, it will last you many years!
Summary of setup:
- Iron holder aligned.
- Sponge prepared.
- Iron tinned.
- Ready to go!
Using the TT4000
If you follow these steps each time you use your soldering station, you will have a seamless experience for years to come.
- Switch the station on using the isolation switch at the lower left of the station. (1 is on 0 is off).
- There will be 2 numbers on the display at this point. The top set of numbers is the current temperature of the tip, the lower set is the desired temperature. The station will rapidly heat the iron once it is powered on, so be careful never to touch the tip.
- Use the up and down arrow buttons to the right of the LCD to set the desired temperature. The station will manage the iron and keep the temperature at the desired setting. The iron will overshoot the set temperature, and then allow itself to cool back to the set temp. You will notice there is an indicator on the LCD which states “HEAT ON” and “WAIT”. If the “WAIT” indicator is lit, do not use the iron, as it is busy regulating temperature. If the “HEAT ON” indicator is lit, you may solder as normal. (The iron will not be damaged if you use it during the “WAIT” period, however temperature may not yet be stable.
- If you hold the adjustment button, the values will change by 10 per second. If you click the button the values will change by 1.